Page 1 of 1
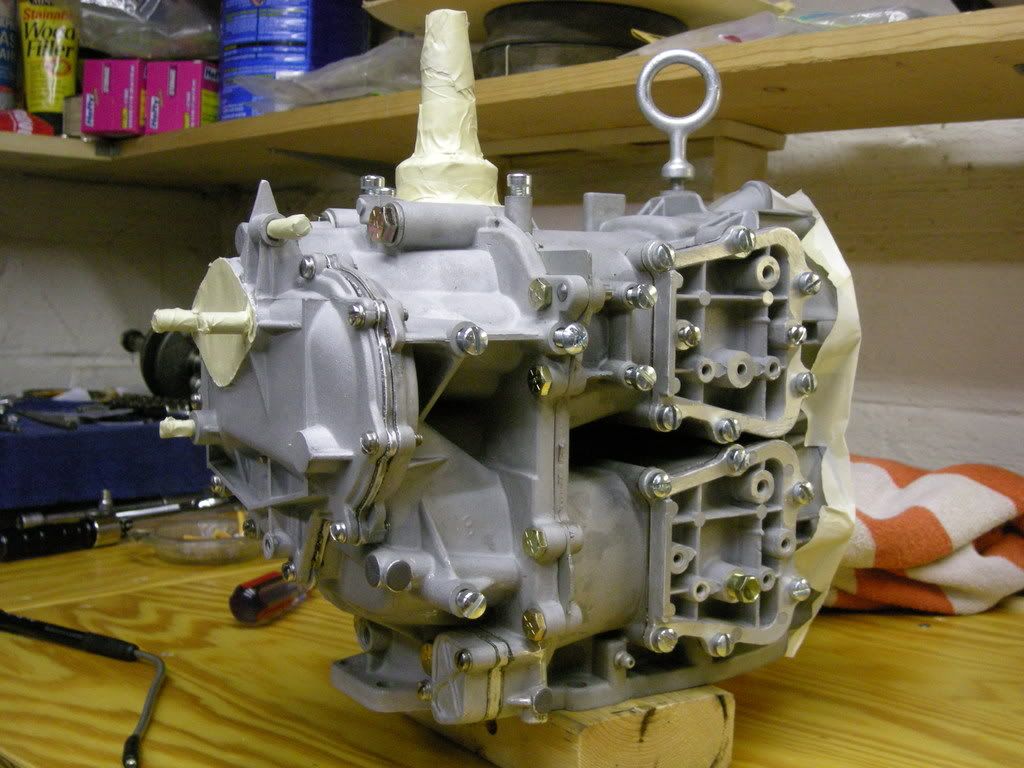
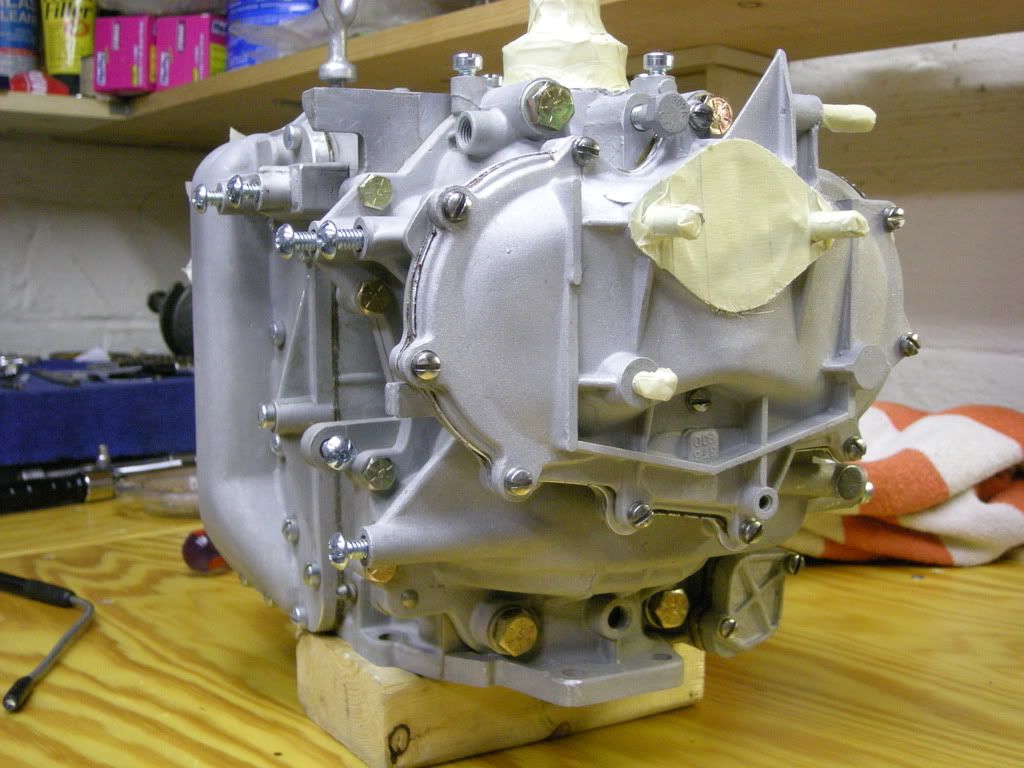
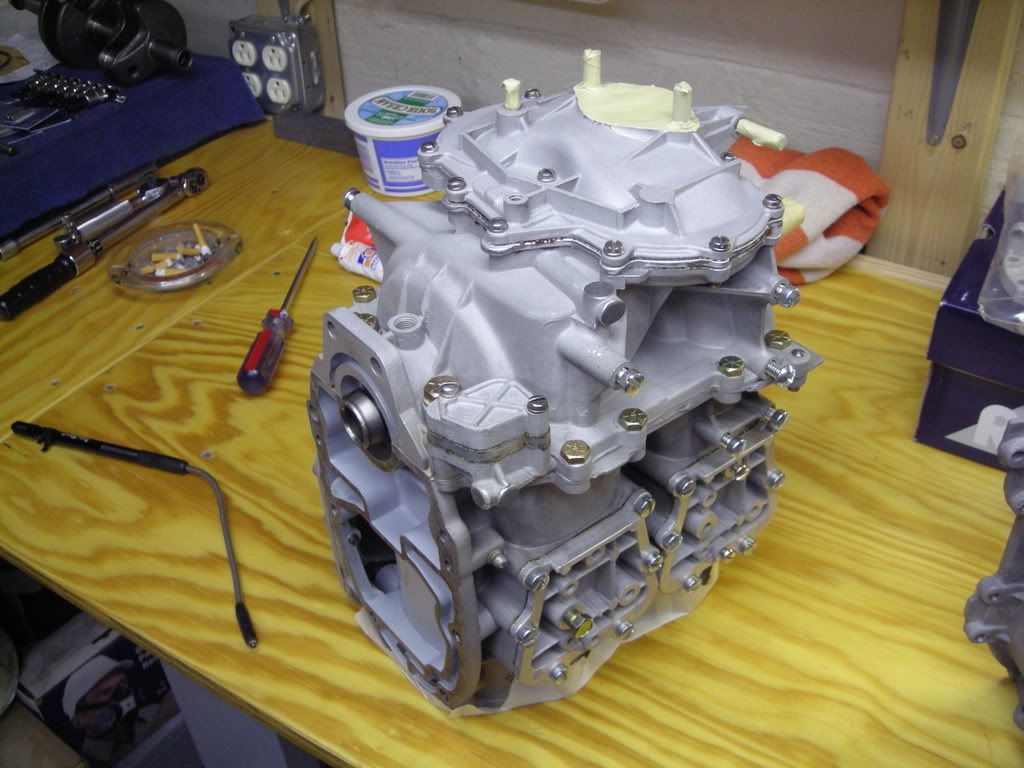
Fresh motor pix ready for paint
Posted: Fri Dec 28, 2007 10:44 am
by 2qwk4u442
Posted: Fri Dec 28, 2007 2:17 pm
by thegammas
looks fantastic!
Posted: Sat Dec 29, 2007 6:37 am
by georgeb
Wow!
Posted: Sun Dec 30, 2007 12:54 pm
by calvin
Great looking powerhead...did you bore each motor or just hone?
Posted: Sun Dec 30, 2007 4:30 pm
by 2qwk4u442
Hi Calvin,
The blocks were first degreased as best possible, then bead blasted with care. All machined surfaces were taped off to resist the blasting, I didn’t worry too much about the bores. I weighed both blocks just for shi*s and giggles to see how close they were.
I inspected them for any problems, and thoroughly deburred the blocks inside and out.
The blocks and bores were in good condition and I suppose they could have been done with a very light hone and new rings, but I tend to be a perfectionist.
I Hand picked four +.020 oversize pistons determined by condition, roundness and optimal size. I cherry-picked these from 15 pistons @ +.020.
On a vertical CNC machining center I set up the blocks in prep for boring, checking squareness to the crankcase mating surface, checking straightness of the bores, out-of round and the center to center distance of the bores compared to the crank CL to CL of the crank throws. I didnt rely on the spec's, but rather the true numbers off each crankshaft. I also confirmed the squareness of the bores and my set-up to the head mating surface.
I then bored them to within .002 of finished diameter using a bore gauge, keeping in mind the piston sizes I had handpicked and the factory spec on clearance.
Then using a Sunnen Engine Hone at work to take to finish size, and with the guidance of an "old timer", we put the optimal crosshatch and finish to the bores.
I then thoroughly scrubbed and cleaned the block and bores in several steps.
I oiled the bores properly then sealed in plastic and boxed them, then put in a clean & dry warm area until ready for use. (it took me about 3 years to get to that step)
Otherwise, I pulled them out for inspiration every once in a while, and to admire them.
(I know, Im nuts)
Rob